After repurposing my vintage trunk, I was out a coffee table. I can’t live without a place to set my coffee and laptop every morning so I got to work building what I thought was the perfect coffee table!
I modified Ana’s plans a bit to fit my couch. We have a sectional that is equal on both sides and if any of you have the same then you know our pain in finding a square coffee table. Of course, the plans were for a rectangle so I had to do some calculations to get a square table.
Here are pics of the steps I took as I went:
Pre-drill all of your screw holes to prevent the wood from splitting.
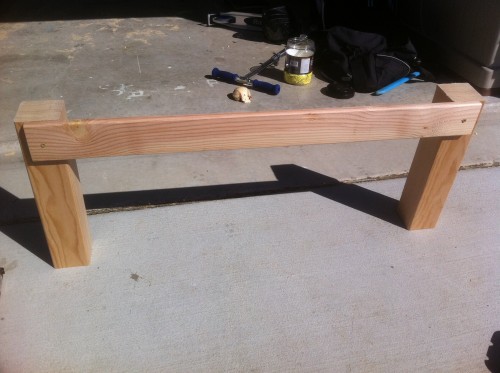
I used Gorilla Glue Wood Glue to join every piece.
Lookin’ like a table now:)
After supports
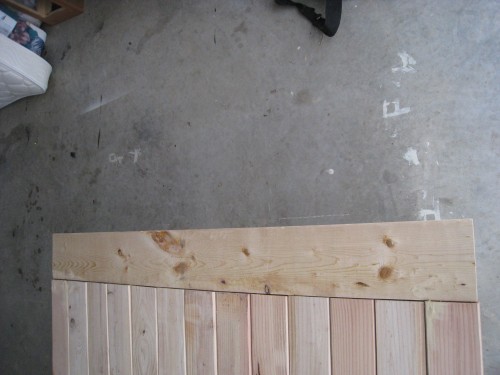
Trim pieces
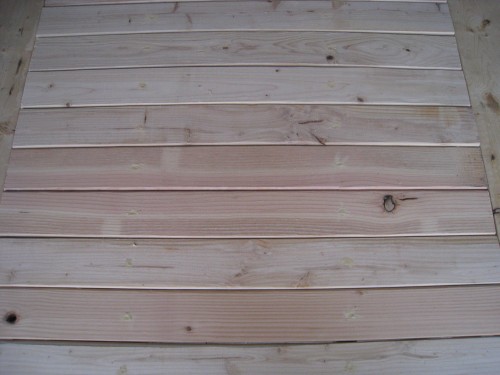
Wood putty the screw holes. I used Elmer’s Stainable Wood Filler.
Sand the rough edges and wood putty after it dries.
That was it for the building! It was not difficult and I finished it in an afternoon. How did I finish it? I do love what I did with it and that is a tutorial in itself so I will be back to share that you all very soon! Thanks so much for stopping by and keep those ‘I Made it Without My Hubby’ projects coming! You gals are so talented and we love being inspired:) You still have time to enter, just click on the button below:) Also, keep a close eye on our future posts for info on how you can win a Silhouette machine this month!!!!
~Ashley
So, I shared my DIY Coffee Table with you all a few days ago and now I’m back to share how I finished it!
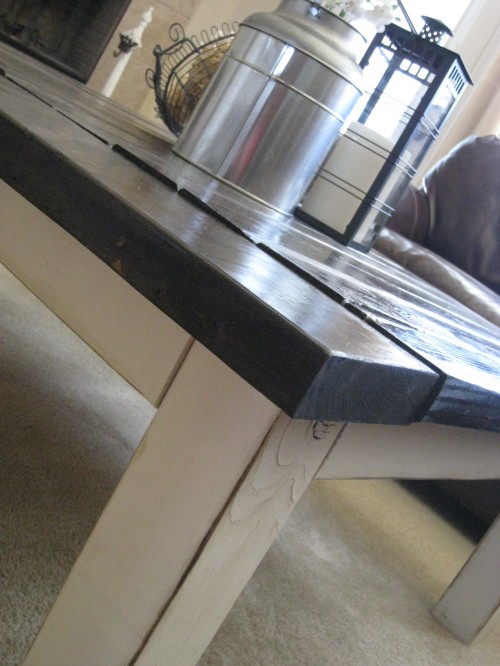
I love the size, the functionality and the “old” look….. and the fact that it only cost me $40 to build!!!
I started by painting the legs with a favorite ~ Rust-Oleum Heirloom White spray paint.
Next, I stained the top of the table with two coats of Minwax Dark Walnut Stain. I painted it on with a foam brush, let it sit for about 15 minutes, wiped it off with an old cloth and repeated after 24 hours.
After another 24 hours I painted on 1 coat of Minwax Polycrylic Gloss with a Purdy brush.
To achieve a more “worn” look, I used my 3M sanding block to distress the edges of all of the legs…
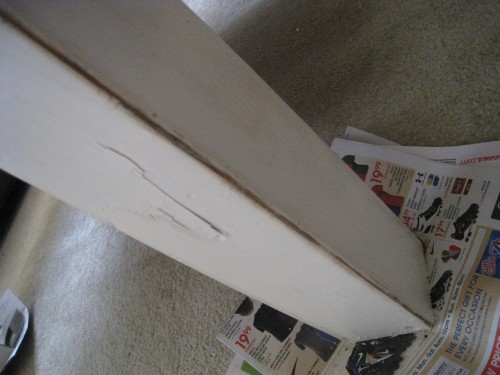
and I followed up with a bit of Minwax Dark Walnut stain on the distressed edges. Yes, I am doing this over my carpet. I was so anxious to get the table in the house that I forgot to distress it:)
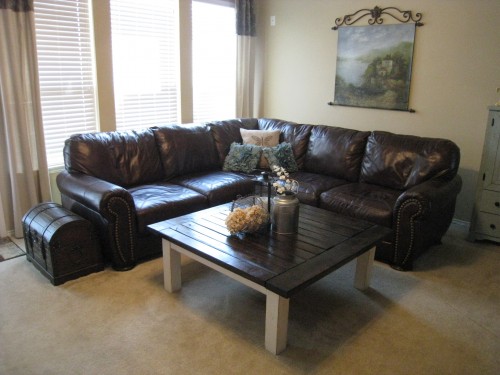
Ahh! I LOVE it:) This is where I do all of my blogging:)
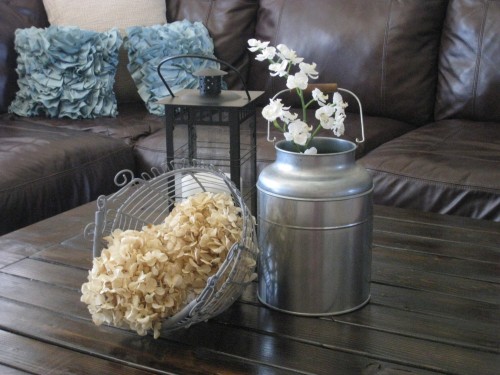
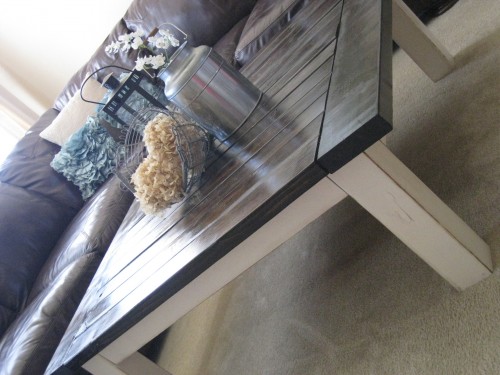

No creaking, wobbling, swaying…. Nope, this table is built SOLID!
Thanks so much for stopping by:)
~Ashley
Seriously, Amazing!


No comments:
Post a Comment